
Your first robot: A beginner’s guide to ROS and Ubuntu Core [1/5]

Kyle Fazzari
on 19 December 2017
Tags: Edukit , Raspberry Pi , robotics , Robots , ROS , sc:series:your-first-robot , snapcraft.io
Please note that this blog post has out technical information that may no longer be correct. For latest updated documentation about robotics in Canonical please visit https://ubuntu.com/robotics/docs.
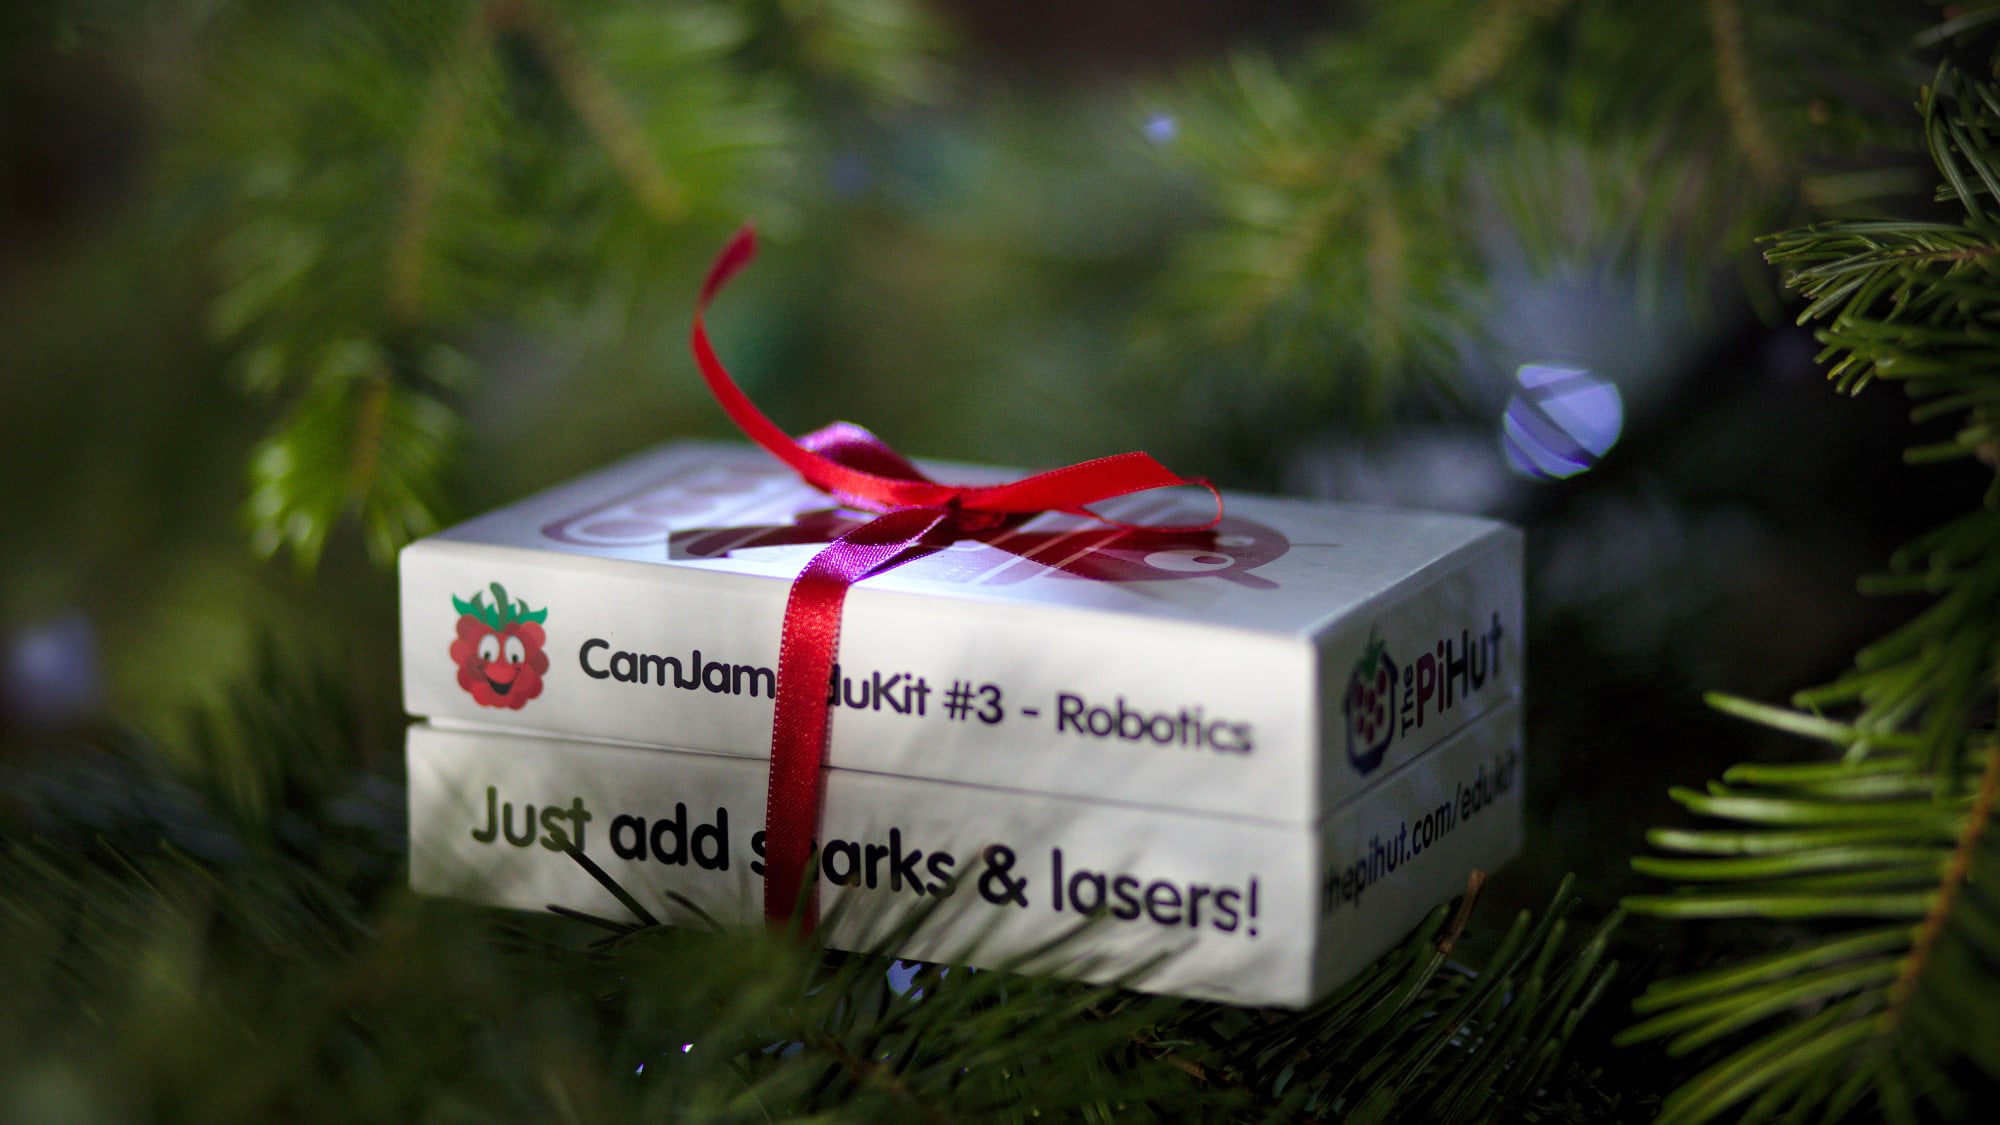
Some time ago I created a blog/video series that walked the reader through creating a prototype using the Robot Operating System (ROS) and taking it to production using Ubuntu Core. However, that series was intended more for robotics professionals; it assumed quite a bit of ROS knowledge, and required some costly equipment (the robot was about $1k). Well, Ubuntu is also for hobbyists (and kids!) who don’t want to shell out $1k to play with robots. Thus, this series was born: one that doesn’t assume any ROS knowledge, and uses hardware that’s so inexpensive you could give it as a Christmas gift. I present you with a robot that costs less than $100: The CamJam EduKit #3, which is a wheeled robot kit you assemble and control with a Raspberry Pi. Let me break down the entire list of hardware you’ll need to follow this series:
- The EduKit, £18, so, say, $25
- A Raspberry Pi (I’m using a Raspberry Pi 2, you need either the 2 or 3), $35
- Battery for Raspberry Pi (I used this one), $15
- This is optional, but if you don’t have one your Pi will be tethered by its power supply.
- Wireless controller, £14, so, say, $20
- Total, including optional components: $95
In my previous robotics series, one of the reasons the Turtlebot was so expensive is because it has a plethora of software already written for it, like ROS drivers to control its movement, read from its sensors, etc. This little robot is different: we’ll need to write everything ourselves. Thankfully, the CamJam folks provide a number of worksheets meant to introduce you to the platform and get you started writing software to control the wheels, read from the ultrasonic sensor, and so on. We can leverage those to get up and running quickly, so throughout this series we’ll cover the following topics:
- Your first robot: Introduction to the Robot Operating System [2/5]
- What is the Robot Operating System (ROS)? Why is it worth learning? How do I use it?
- Your first robot: The controller [3/5]
- Getting data out of the wireless controller and into ROS.
- Your first robot: The driver [4/5]
- Learn a little control theory, write the driver for the robot.
- Your first robot: Sharing with others [5/5]
- How do you start the system without needing to SSH in? How do you share your final product with your friends?
As I mentioned, the CamJam worksheets will get us a long way toward what we need to learn for this series. However, rather than use Raspbian, we’re going to use Ubuntu Core. The worksheets are still perfectly applicable, and I’ll prove it by walking you through getting Ubuntu Core setup on your Raspberry Pi, and then we’ll go through one of the CamJam worksheets. Note that this is also a video series, feel free to watch the video version of this post:
Prerequisites
While this is meant to be an introduction, I want to be clear on some of the assumptions I’m making. This series assumes you’re at least somewhat familiar with Ubuntu (or other Debian-based distro, like Raspbian), particularly using the command-line. I don’t expect you to be a shell-scripting pro, but you should know how to navigate around the file system and use terminal-based editors (vi, nano, etc.)
What is Ubuntu Core
Ubuntu Core is a specialized distribution of Ubuntu that is dedicated to devices that fit into the “Internet of Things” (IoT) bucket. This includes routers, thermostats, and of course, robots. It’s my hope that, in introducing you to the operating system (and tools like ROS) that the pros use for their robots, the road is paved for you to go on and accomplish great things in this field!
Ubuntu Core is a bit different from Raspbian. It’s even a bit different than classic Ubuntu (or Ubuntu MATE)! Let’s get started installing it, and I’ll explain what I mean.
Step 1: Install Ubuntu Core
This is already well-documented, but I want to add a few notes here before you follow the steps. First of all, a keyboard and monitor are required, but only for the first boot. Unlike Raspbian or Ubuntu MATE, there is no default username/password or install process where you create a user. It doesn’t even use a mouse– this is more like Ubuntu Server. In fact, by default there’s no local login at all: it’s all done over SSH (a remote login over the network), with cryptographic keys instead of passwords. This is part of Ubuntu Core’s “secure by default” philosophy. There are numerous examples of default credentials being abused (see the Mirai botnet), and as an IoT-focused operating system, Ubuntu Core can’t have that! That’s why you’ll see an Ubuntu SSO account and SSH keys as prerequisites in the install guide (don’t worry, both are easy, and your robot will be super safe!).
Alright, go ahead and follow the Raspberry Pi 2 or 3 install guide (comment here if you have any questions). At the end of this step, you should have Ubuntu Core installed, and you should be able to SSH into the Pi.
Step 2: Prepare developer setup
As an IoT-focused operating system, Ubuntu Core uses a different packaging format from Raspbian and classic Ubuntu. Rather than using Debian packaging (which involves familiar tools like apt), Ubuntu Core uses a packaging format called snaps. Snaps are far more robust when it comes to reliable updates and security, both of which are important to IoT devices, including robots. There is no apt on this system. To give you a taste of what using the snap command is like, ensure your system is completely up-to-date by running snap refresh.
So how does one install all the developer tools to which one is accustomed? There’s a special snap for that called classic, which gives you access to all your familiar tools (including apt).
Install the classic snap by following the “developing on target” section of the Developer setup guide (again, comment here if you have any questions). At the end of this step, you should be able to run sudo classic and gain access to a shell where you can install debs, which we’ll use for hacking on our robot! Later we’ll walk through creating your own snap to control the robot, which makes sharing your project with your friends super easy.
Step 3: CamJam time
Alright, we’re now to the point where we can begin following CamJam’s worksheets! Why don’t we start with the very first one. This one really assumes you’re running Raspbian, which we’re not, so while you can read the whole thing, we’re going to skip straight to the “Identifying your Version of Raspbian” step. No, we’re still not using Raspbian, but this section makes an interesting point that I want to make sure you notice:
Ubuntu Core, like Debian Wheezy, considers GPIO access via memory mapping to be a privileged operation. As a result, any of the code throughout these worksheets that uses GPIO will need to be run with sudo.
Alright, let’s get started. Make sure you’re in your classic shell by running sudo classic. vi is available here by default, but you can sudo apt install nano if you want. Following the worksheet, open up 1-helloworld.py and fill it with the following:
# Print Hello World!
print('Hello World!')
Then save and exit. You can now run the code in that file with this command:
$ python3 1-helloworld.py
Hello World!
Go ahead and read through the rest of the worksheet, it will be helpful to you later on.
I hope this gets you off to a good start using Ubuntu Core to hack on your Raspberry Pi projects. As homework for the rest of the series, also complete worksheets 2-4, and 7. You can totally do the other worksheets as well, but we won’t be using the ultrasonic sensor or line detector in this series, so you don’t have to. Before you do any other worksheets, though, you need to get the RPi.GPIO package installed. While in your classic shell, run:
$ sudo apt install gcc python3-dev python3-pip python3-setuptools
$ pip3 install RPi.GPIO
Also, remember that you’ll need to use sudo for any python scripts that utilize GPIO. The next post in this series will be an introduction to ROS, what it is, why it’s useful, why you need to know it, and how to get it on your Ubuntu-Core-powered Raspberry Pi.
This article originally appeared on Kyle Fazzari’s blog.
Ubuntu Desktop for Raspberry Pi
Watch the live event of the 20.10 launch the and find out all the news about the new Ubuntu Desktop image for Raspberry Pi.
Newsletter signup
Are you building a robot on top of Ubuntu and looking for a partner? Talk to us!

Related posts
Discover the future of Autonomous Mobile Robots (AMR) with Canonical and Husarion at ROSCon 2023
At a time when Autonomous Mobile Robots (AMR) keep rapidly reshaping industries like logistics and manufacturing, we’re thrilled to introduce you to our...
Do more with Vulcanexus snaps; your all-in-one ROS 2 toolset
eProsima’s advanced toolset for ROS 2 is now available in the Snap Store A surprise is awaiting all ROS developers in the Snap Store with the release of the...
ROS architectures with snaps
Choosing the right architecture can be hard, but we want to help. In this blog, we’ll look at different architectures and their pros and cons. We’ll also show...